
Curved Gothic Arch Tutorial
Firstly, I just want to give credit to Emerald Erin, as her wonderful blog post about gothic arches inspired me to write this one. She has a wonderful blog on how to alter her Black beauty bra pattern for a gothic arch.
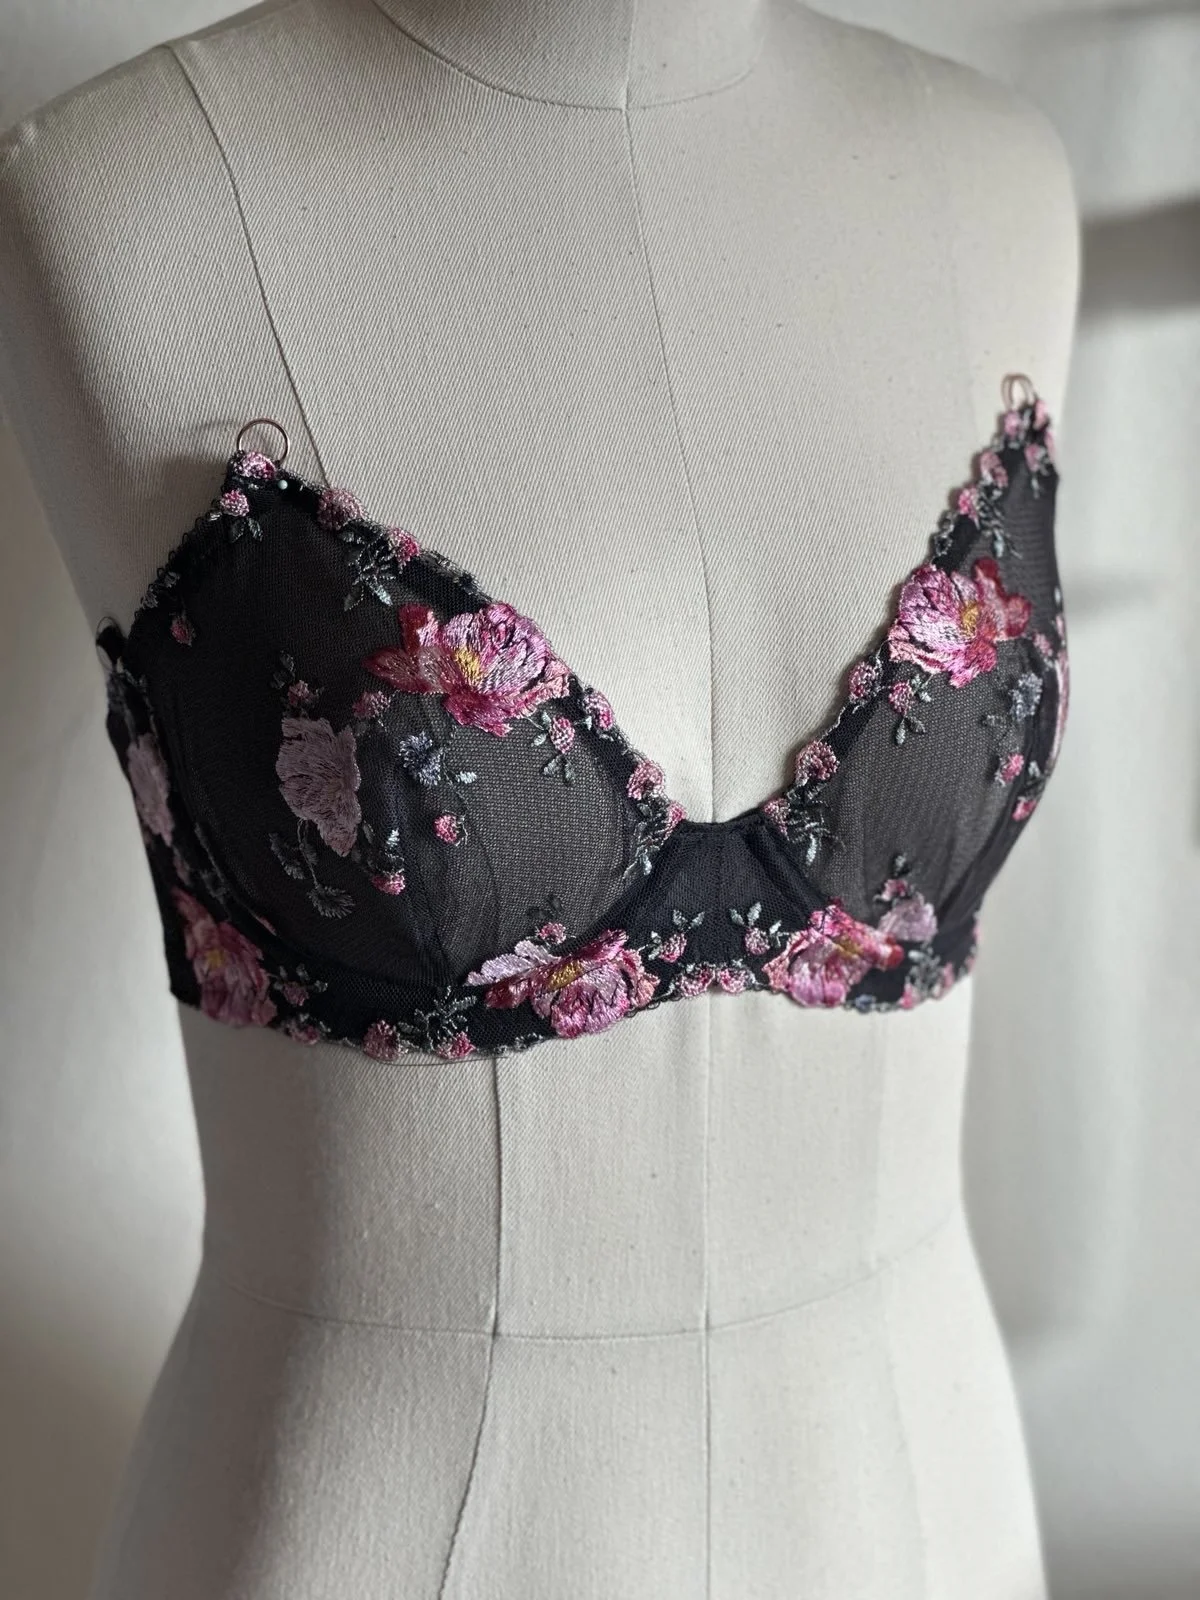
Over the years, I’ve adapted my own way of sewing mine. I have always been fascinated by the way Nordstrom bras achieved. They always looked so perfect the way the rigid laces curved WITH the underwire that I wanted to achieve this look in my own projects.
So lets get down to the basics.
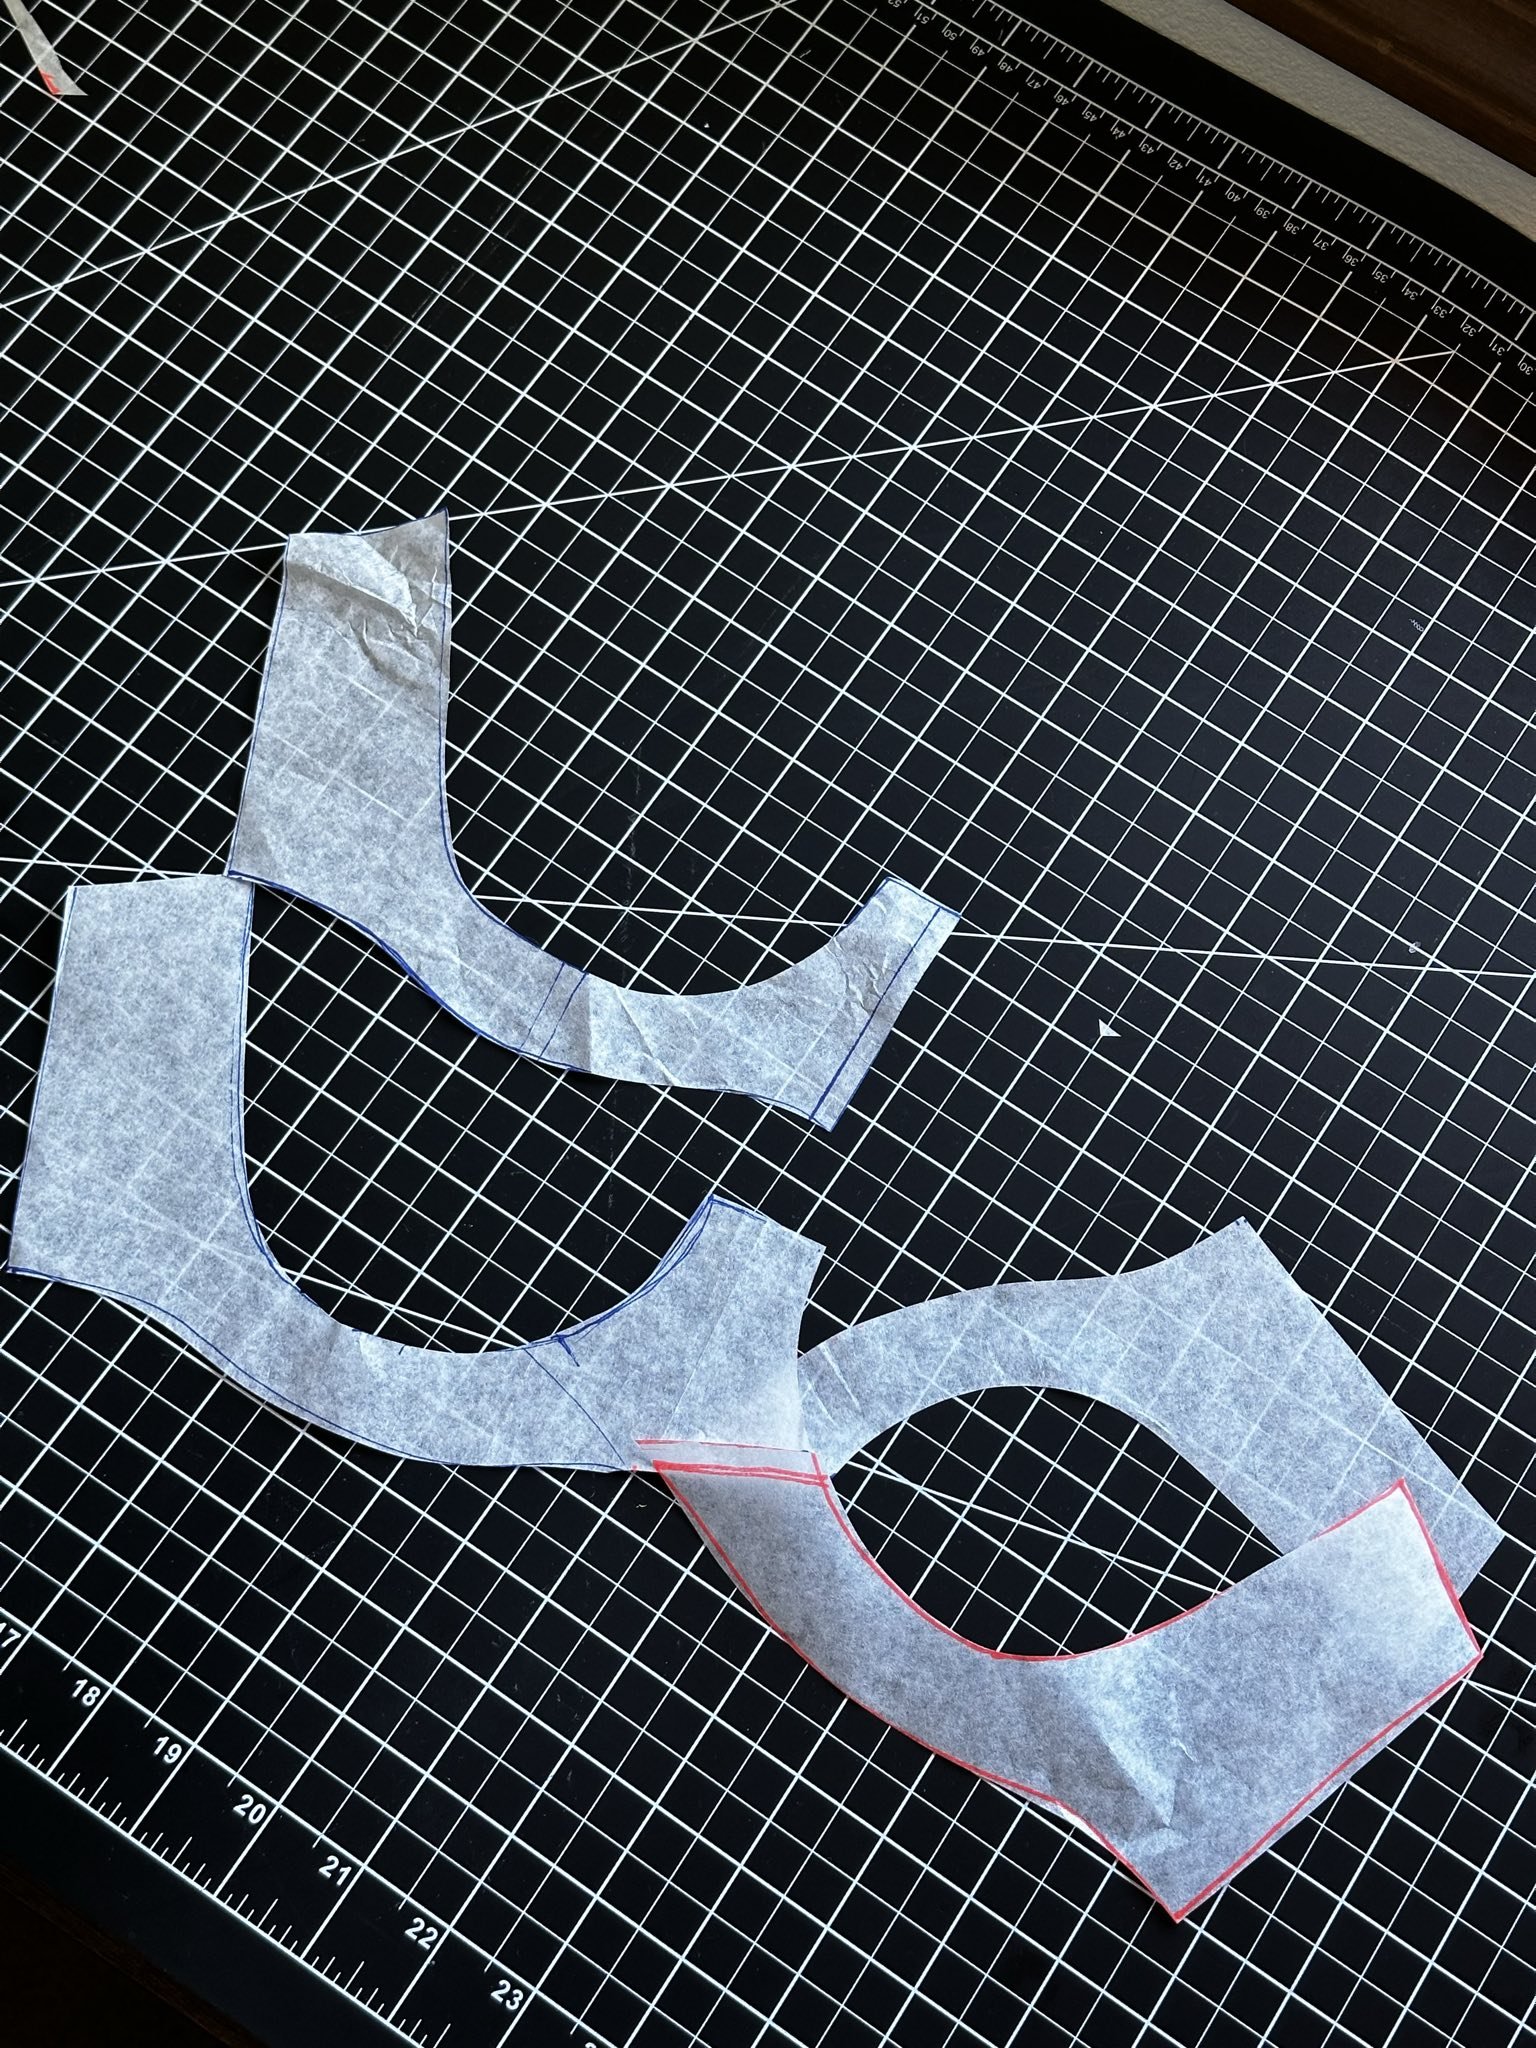
Preparing the Back Band & Cradle
I start with the back band and cradle, making sure to double-check that the elastic widths align with both the back band piece and the hook-and-eye closure.
I use a single pass of a 3-step zig-zag stitch to attach the elastic.
If my seam allowance isn’t lined up properly, the tension can cause the elastic to curl—so precision is key.
Next, I trim off the seam allowance from my cradle piece since I’ll be using a scalloped lace edge instead. The more curvature you add to the bottom band near the wireline, the more dramatic the gothic arch will appear.


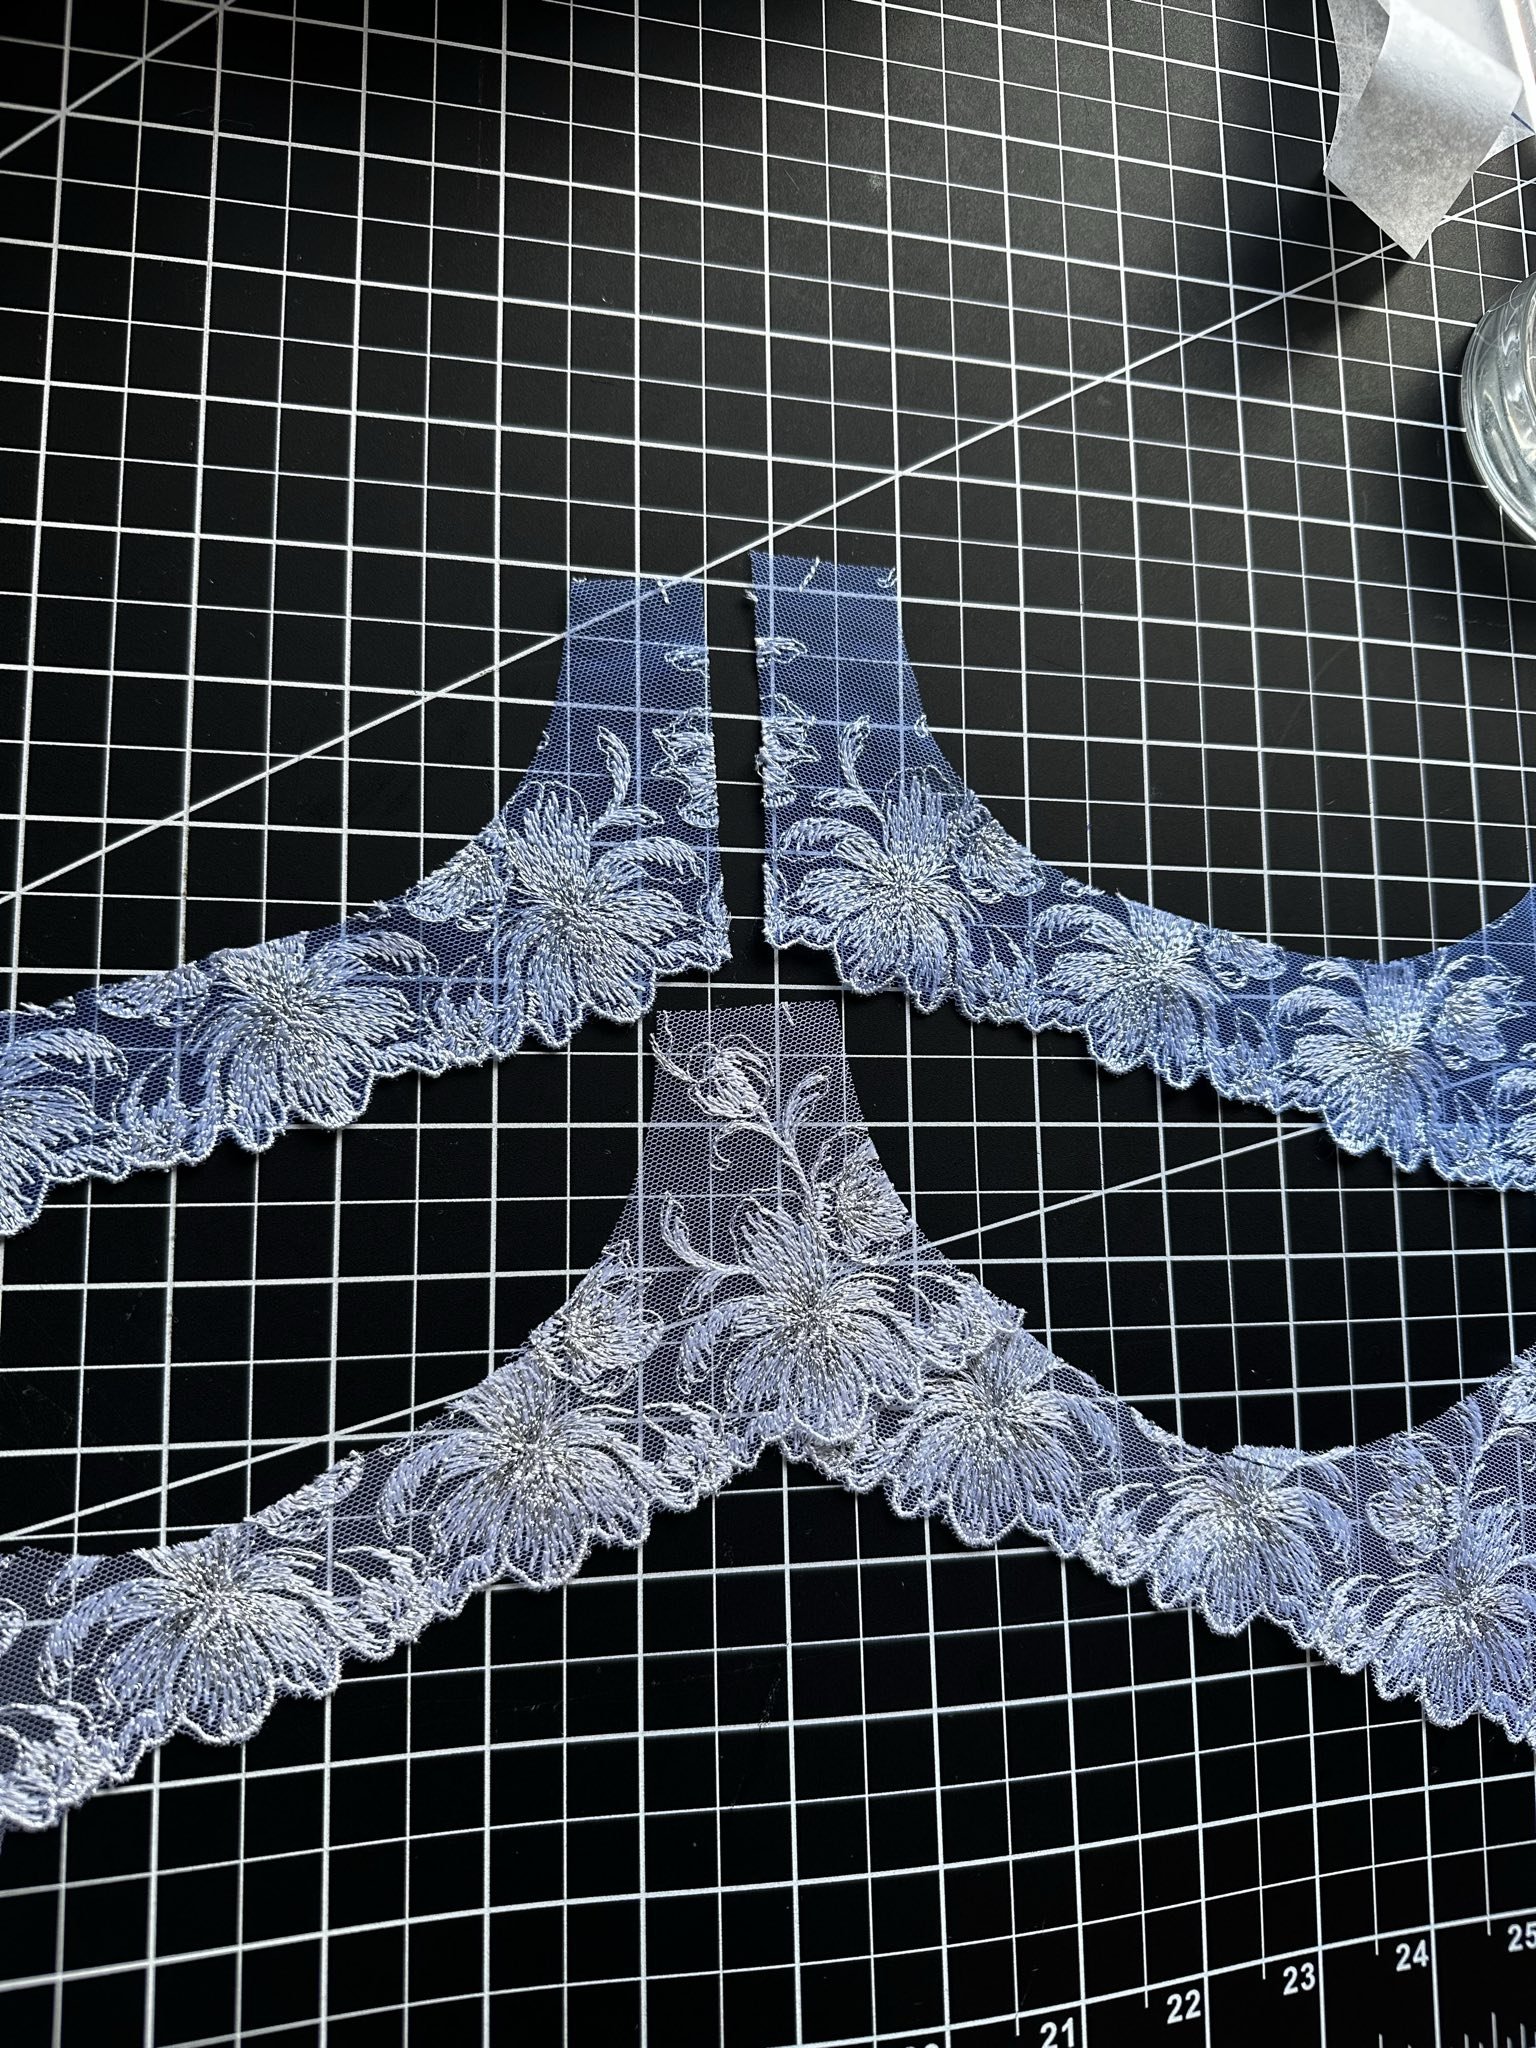
Choosing a Center Bridge Design
At this stage, I decide how I want the center bridge to look. The choice depends on the embroidery design of the lace:
Vertical Seam Design At Center Bridge
Best for small, simple embroidery patterns that won’t be split in half at the center seam.
If the embroidery lands in the seam, I either cut the seam allowance very narrow or carefully unpick stitches to maintain a seamless look.
Uninterrupted Embroidery Design
Best for large floral embroidery, allowing the pattern to remain continuous and centered on the bridge.
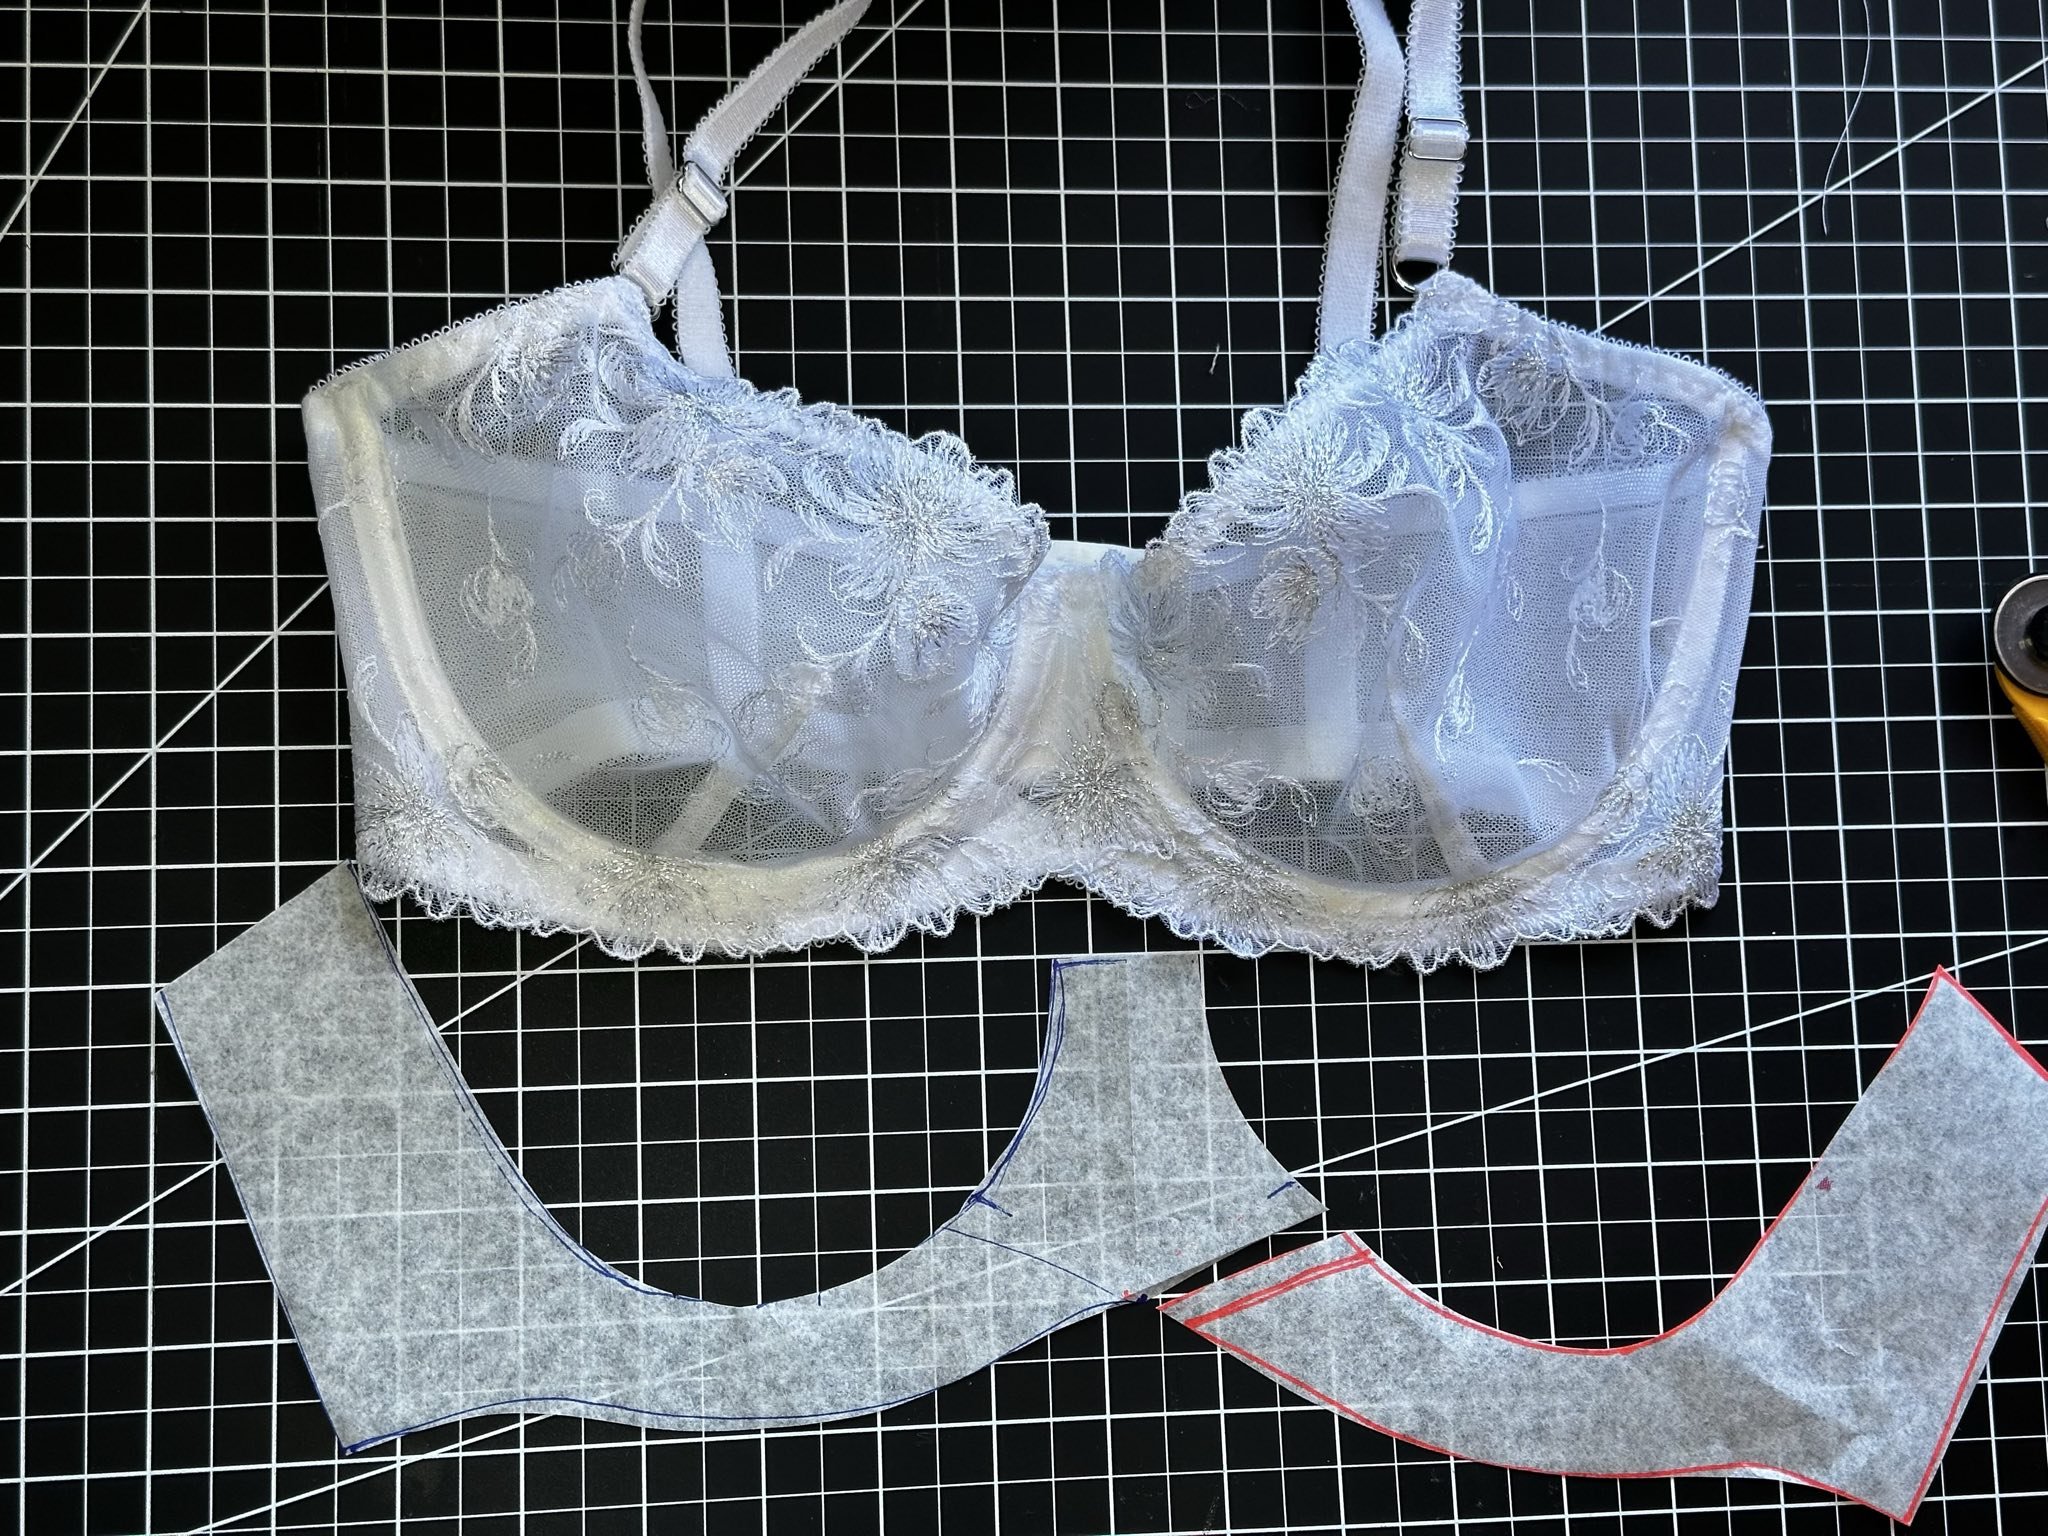
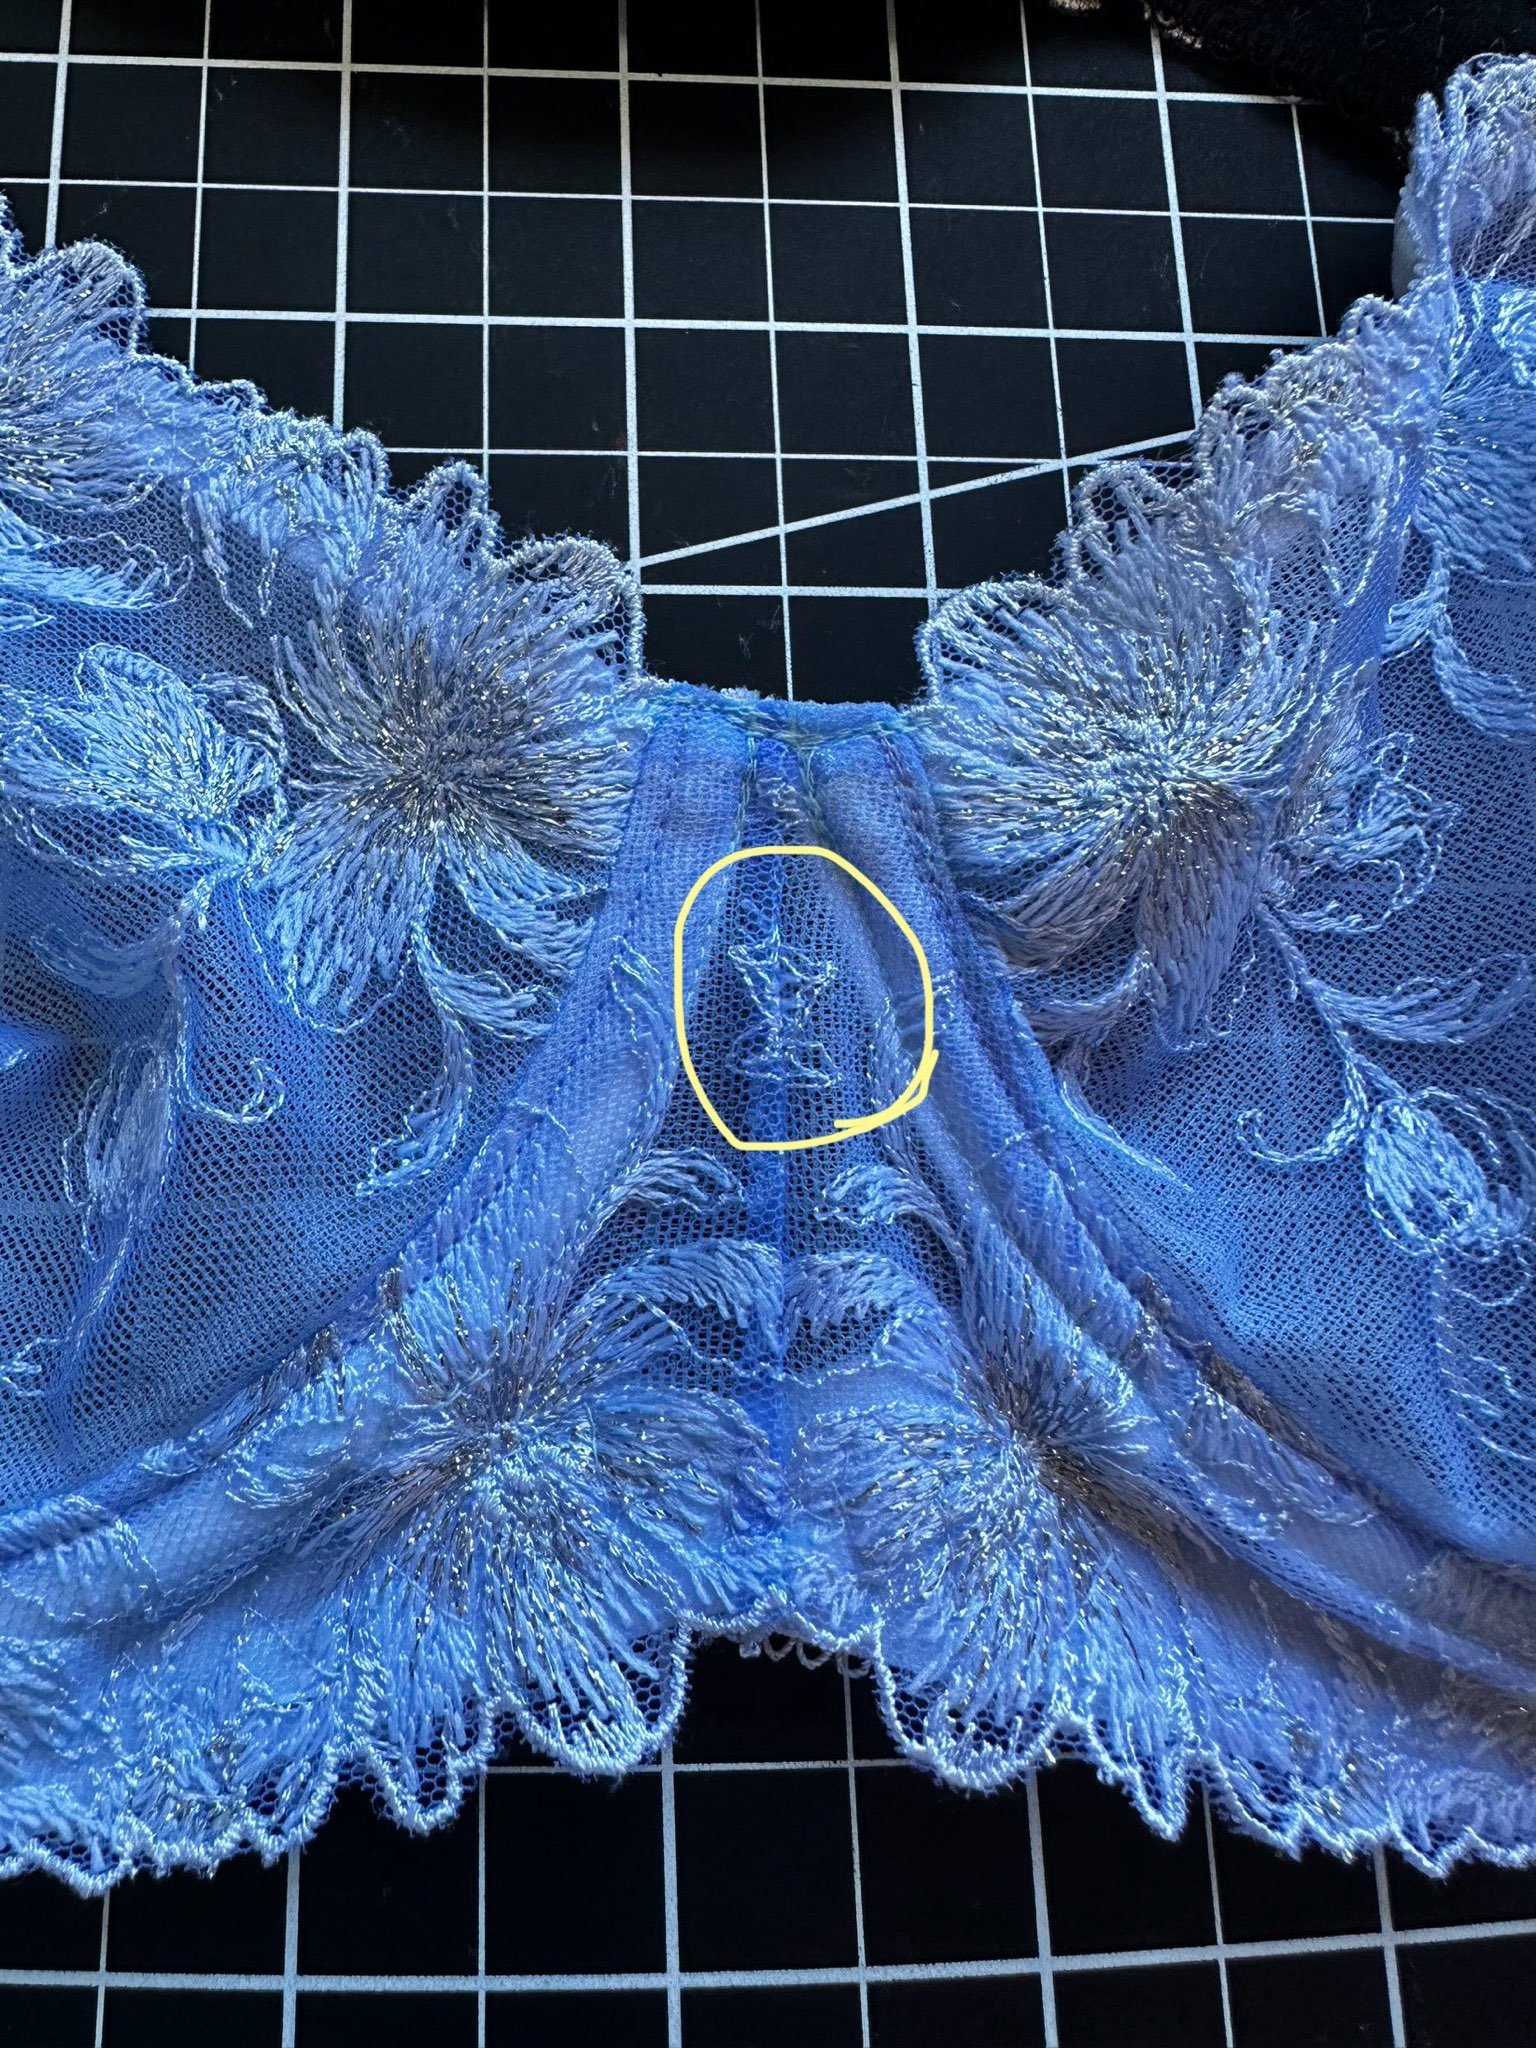
Sewing the Underwire Channeling Note
This step is crucial! I make sure the underwire channeling is sewn on top of the bottom band elastic.
The more it’s secured to the band elastic, the flatter the piece will lay.
If the channeling isn’t placed correctly, the lace and bridge may not lay flat, and the center front could flip up or feel uncomfortable when worn.
(I’ve included a photo demonstrating what happens when the channeling isn’t placed properly.)
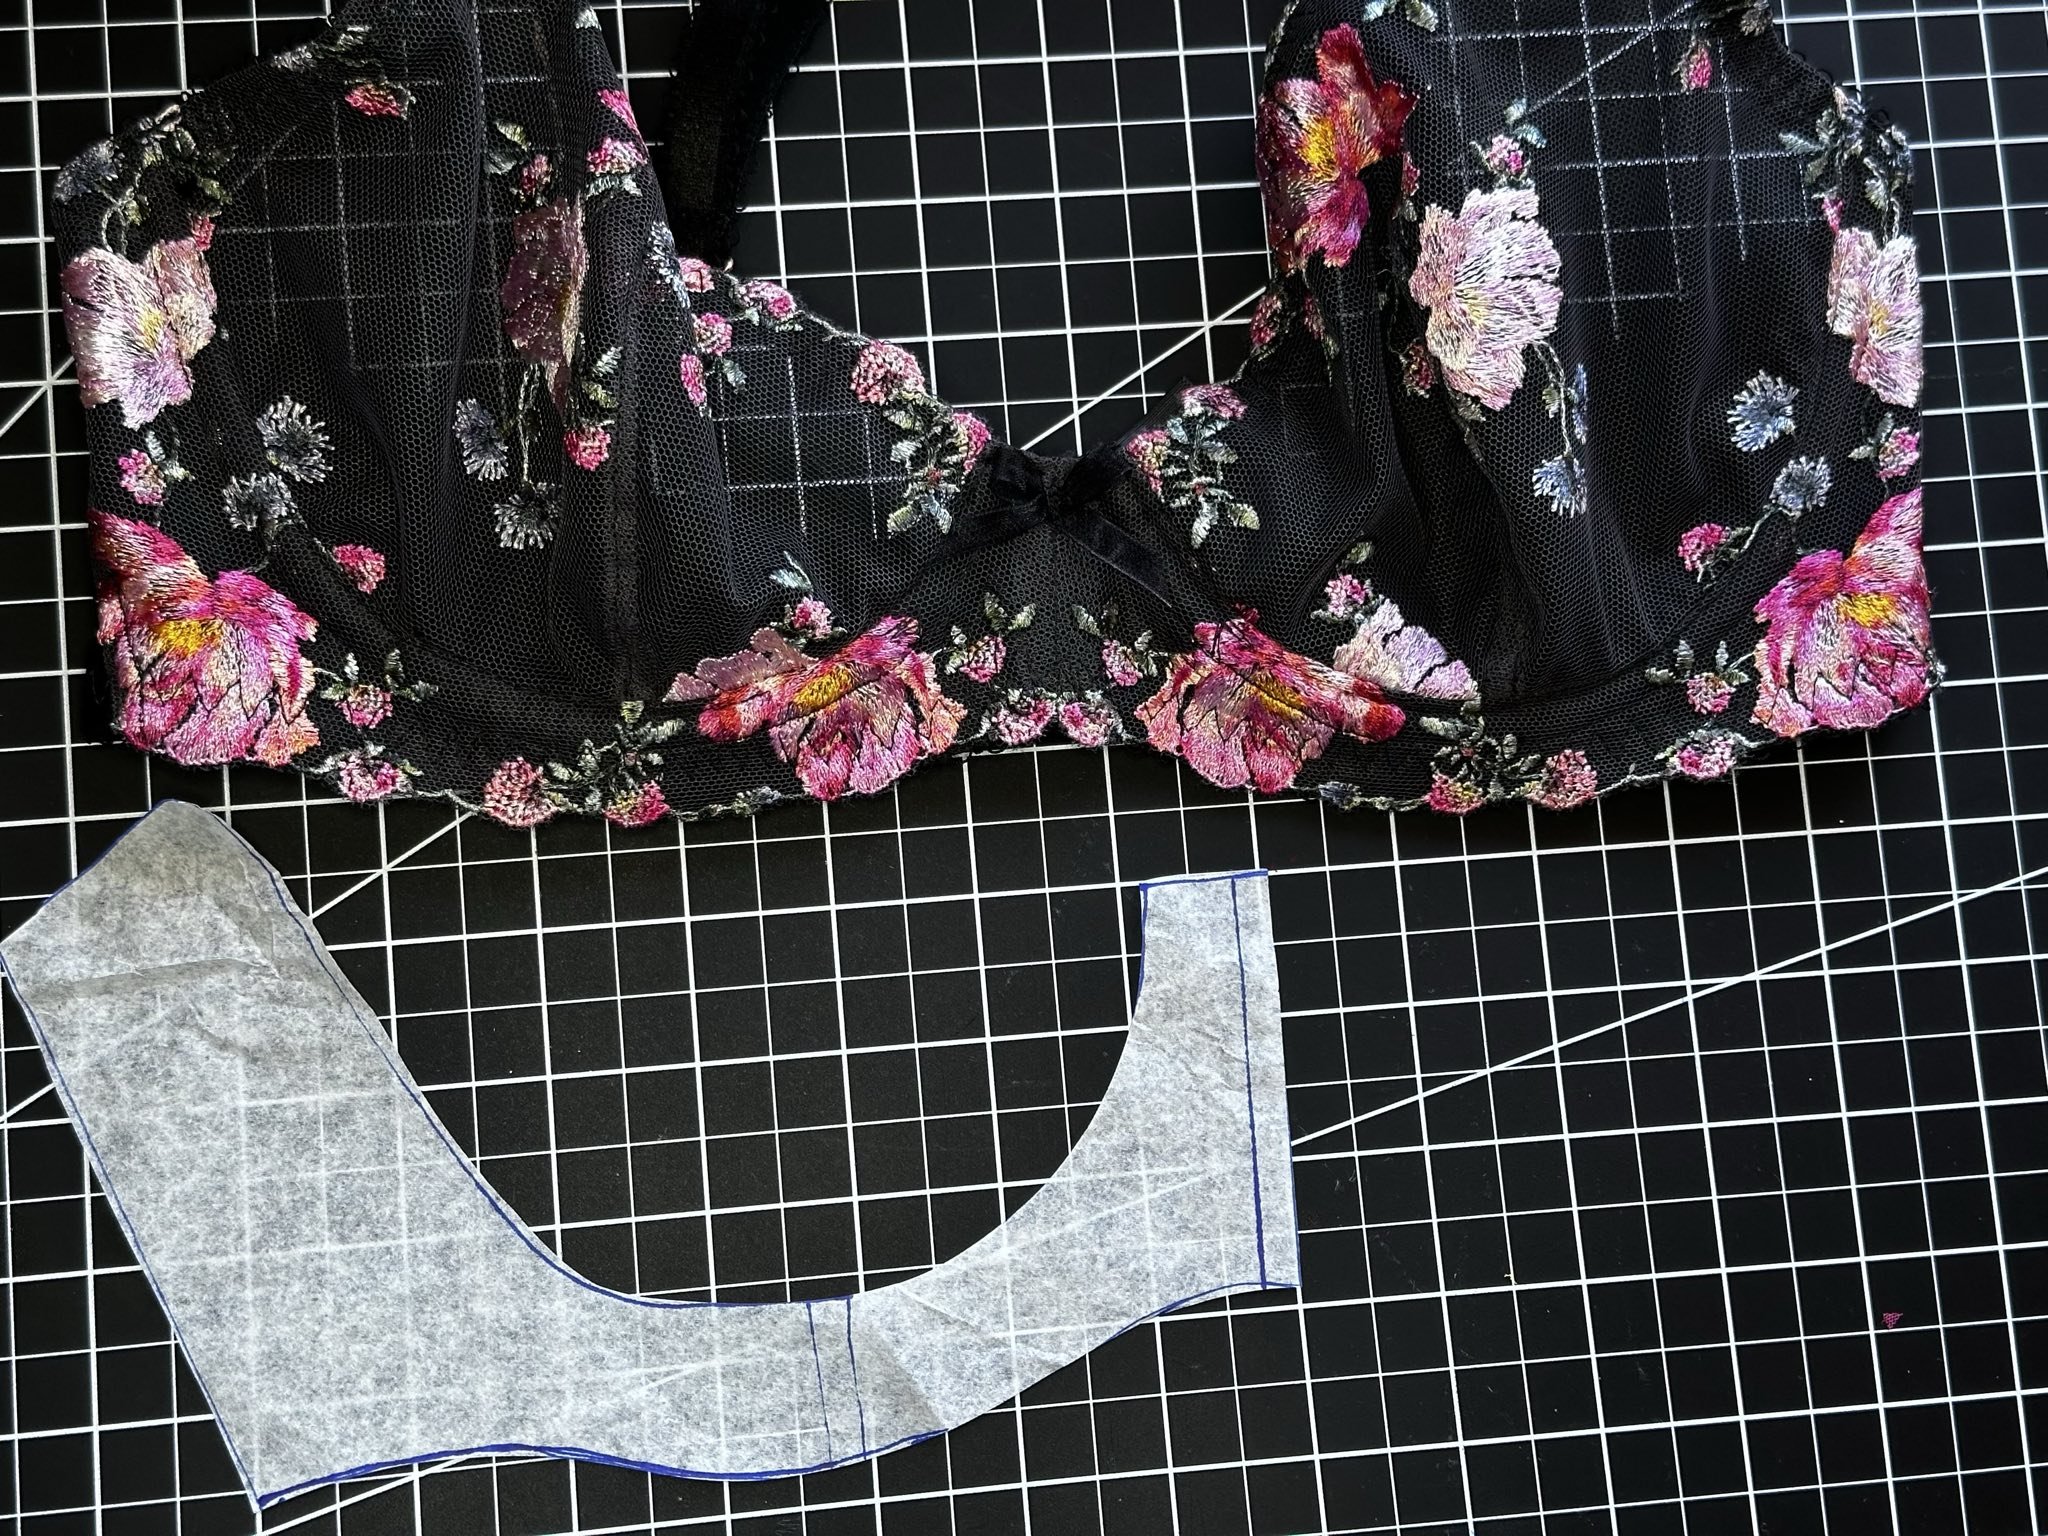
Cutting the Lace & Lining
Now, I cut the lace to follow the curvature of the cradle piece while keeping the center bridge and side cradle as flat as possible.
Some gathering may occur at the middle of the wireline, but that’s okay—it will smooth out when sewn together.
Next I cut the lining in the shape of the original pattern piece I used to cut the lace. I sew the bridge, back pieces, and lining enclosed. Now I am going to baste stitch the wire line and bottom band to the lining.
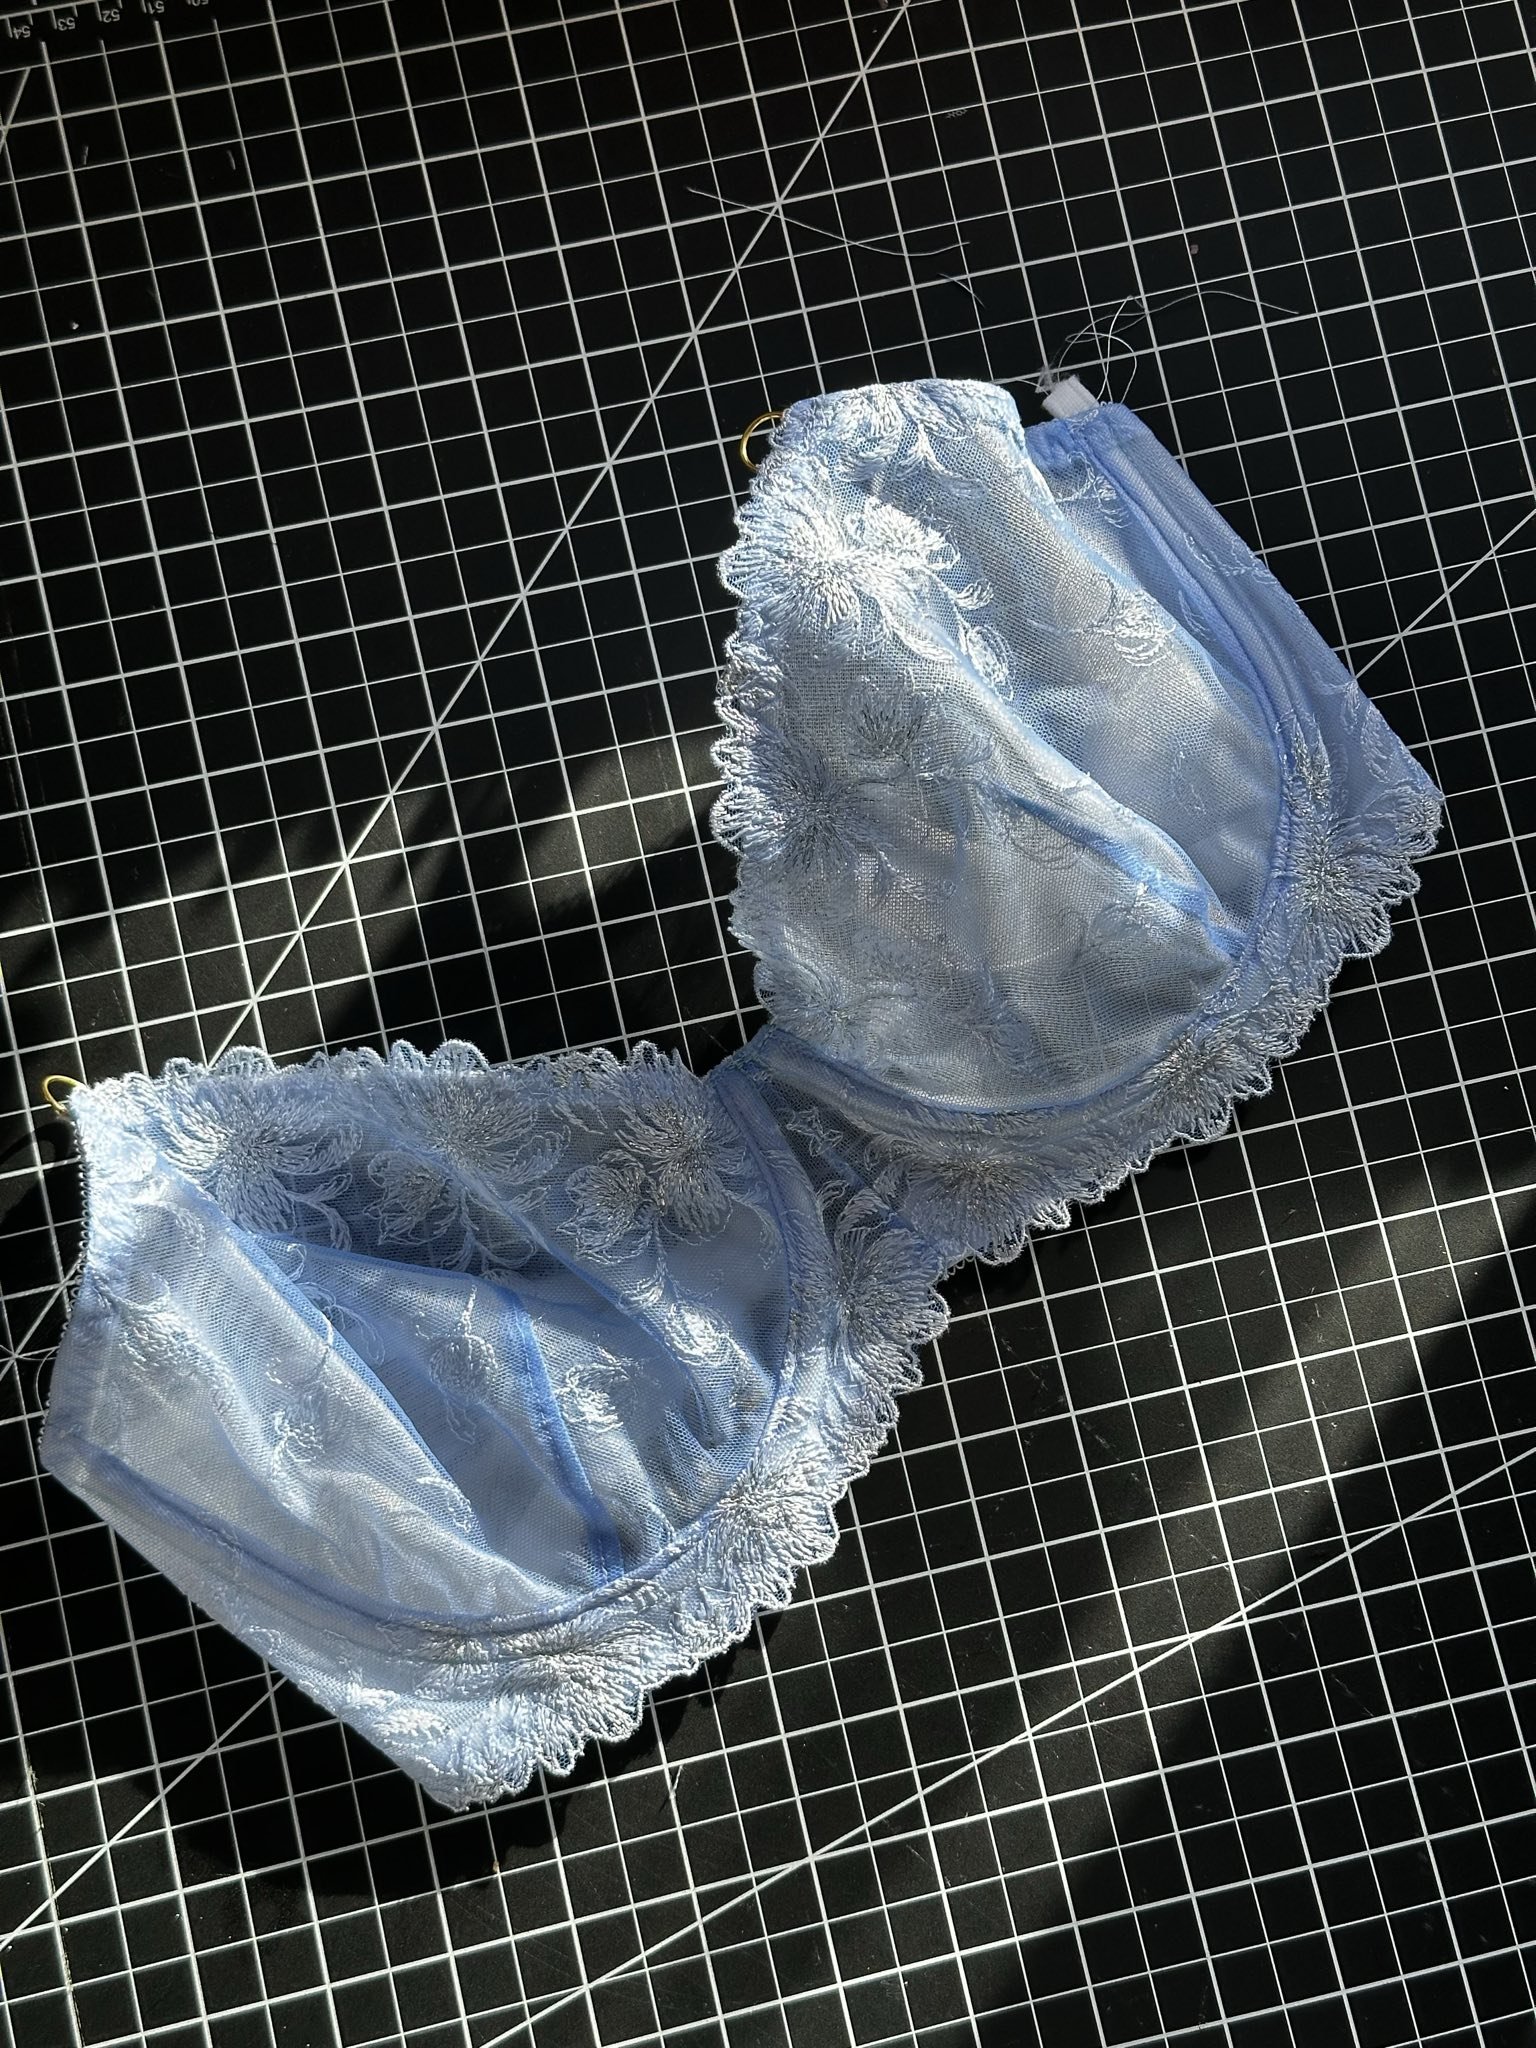
Assembling the Bra
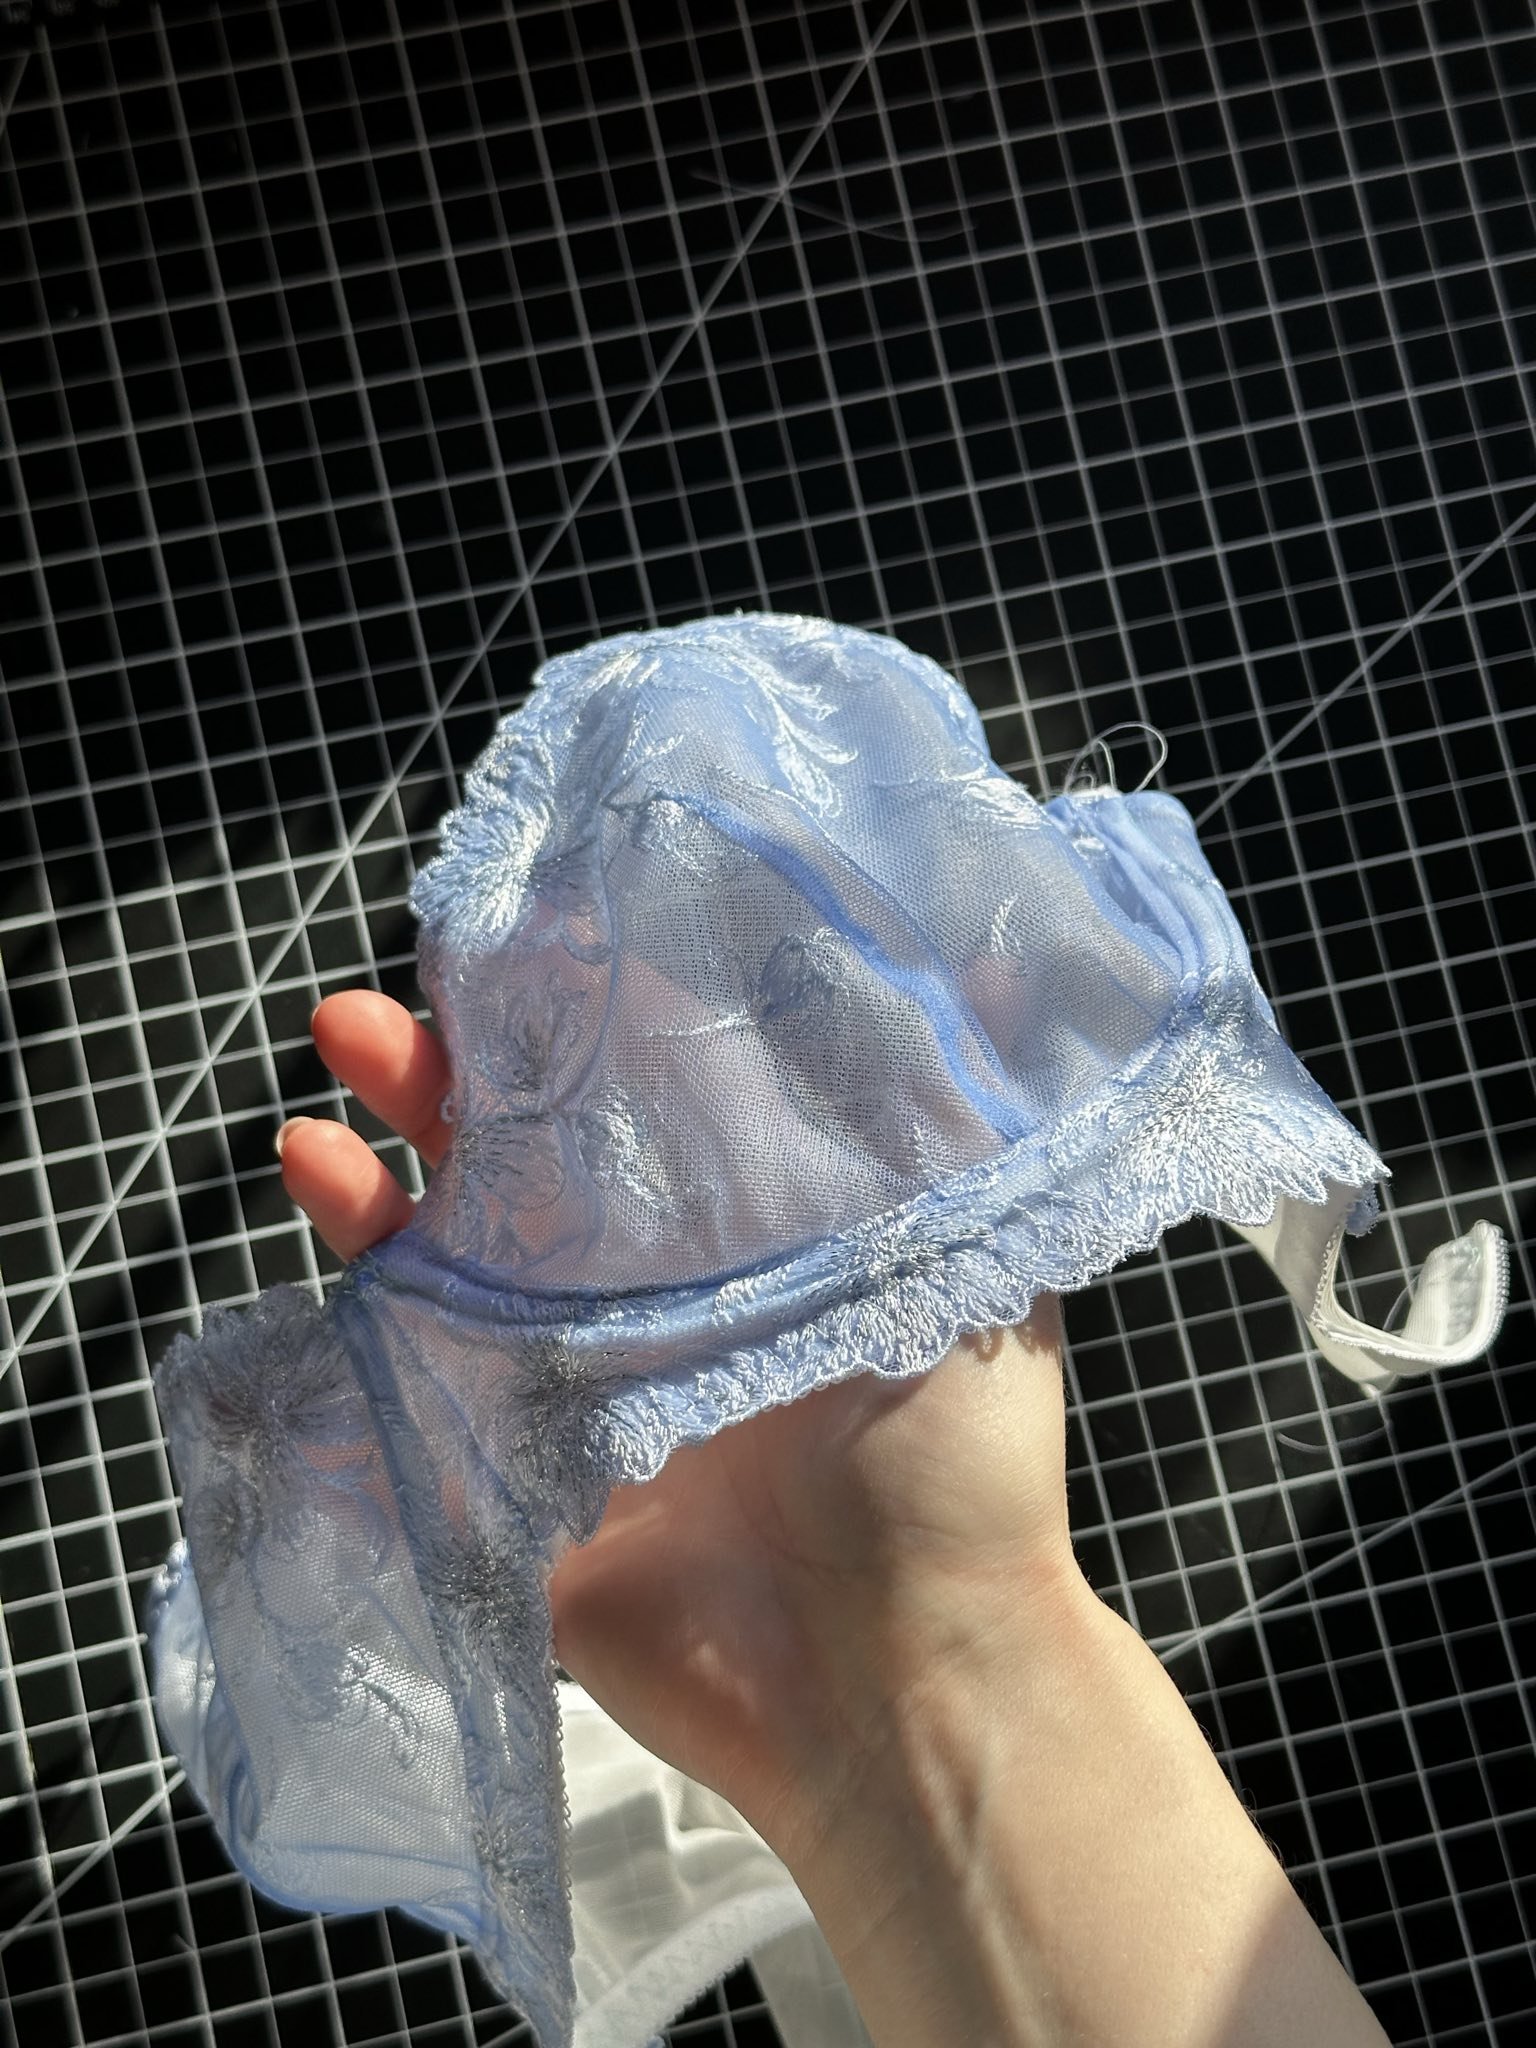
Attach the cups to the frame.
Sew the bottom band elastic, following the lowest point of the scalloped lace edge.
Sew the underwire channeling in place.
Finish up the bra!

I hope this tutorial was helpful! If you’ve sewn a gothic arch this way before—or plan to try it—I’d love to hear about it. Feel free to share your results!