
Introduction to Dyeing Your Fabrics

Dyed blue Silver Hardware Findings+ Kit with dyed Blue/turquoise lurex stretch lace from a previous collection.
Dyeing Your Own Lingerie Materials: A colorful DIY approach to designing your lingerie
One of the most empowering things about sewing lingerie is being able to create materials in any color you can dream of. For me, Dyeing materials has opened up a vibrant palette of possibilities, allowing for unique expressions in design—turning white nylon fabrics into vibrant, custom colors that make my creations unique.
But here’s the thing: dyeing your own materials might seem intimidating at first. When I started out, I felt the same way. That’s why I want to share the resource that completely transformed my approach: @DaintyAlchemy on Instagram.
Why Dye Your Own Materials?
Dyeing lingerie materials isn’t just practical—it’s a creative and sustainable way to bring variety your designs. Having plain white or black fabrics on hand allows you to create exactly what you want, without searching endlessly for ready-made colors. We’ve all been there ordering from multiple places with shipping costs adding up, sometimes the colors are not an exact match. You’ll save money and reduce waste by using what you already have! Having black on hand is also great because lets be real… Dyeing black can be messy and its hard to achieve a true black color.
How I Got Started
When I first decided to try dyeing, I used Rit Dyemore, which does have its good applications for stubborn fabrics like polyester. It’s also easily available and a good starting point for a beginner. But over trial and experiment, I’ve found that using powder acid dyes yields the best results and vibrancy- especially when it comes to neon colors. I turned to DaintyAlchemy, an expert who shares incredible tips, tricks, and techniques for working with acid dyes and nylons. Her Instagram account is packed with helpful resources, from tools and formulas to step-by-step videos that make the process approachable for beginners and advanced makers alike.
Tips for Getting Started
While I won’t go into the full process here (because DaintyAlchemy already covers it so beautifully), here are a few things I’ve learned that might inspire you to give it a try:
Start Small: Begin with swatches of fabric to experiment with colors and techniques before committing to a larger piece.
Invest in the Right Tools: A good pot, gloves, and scales will make the process smoother. DaintyAlchemy’s account has a full breakdown of the tools you'll need!
Be Open to Mistakes: Like any craft, dyeing takes practice. Don’t be discouraged if your first attempt isn’t perfect—failing is better than not trying at all!
What to Know About Dyeing Fabrics
One thing I’ve learned is that not all materials are created equal when it comes to dyeing. High-quality nylon absorbs color beautifully, but finding nylon that takes dye well can be a challenge. That’s why I carefully source the materials in my shop to ensure they’re dye-friendly and have high absorbancy. The nylons in my shop are thoughtfully designed to facilitate easy and efficient dyeing processes. The high-quality untreated off-white nylon provided not only absorbs dye exceptionally well but also achieves vibrant and striking shades. This makes the kits and nylons in the shop an excellent choice for your DIY projects, ensuring that your finished pieces are as beautiful as you envision them.
That said, different fabrics and components have their quirks:
Bra strap elastics tend to dye a little slower due to their density and bright-white qualities, so keep in mind that they may need to sit in the dye for a bit longer.
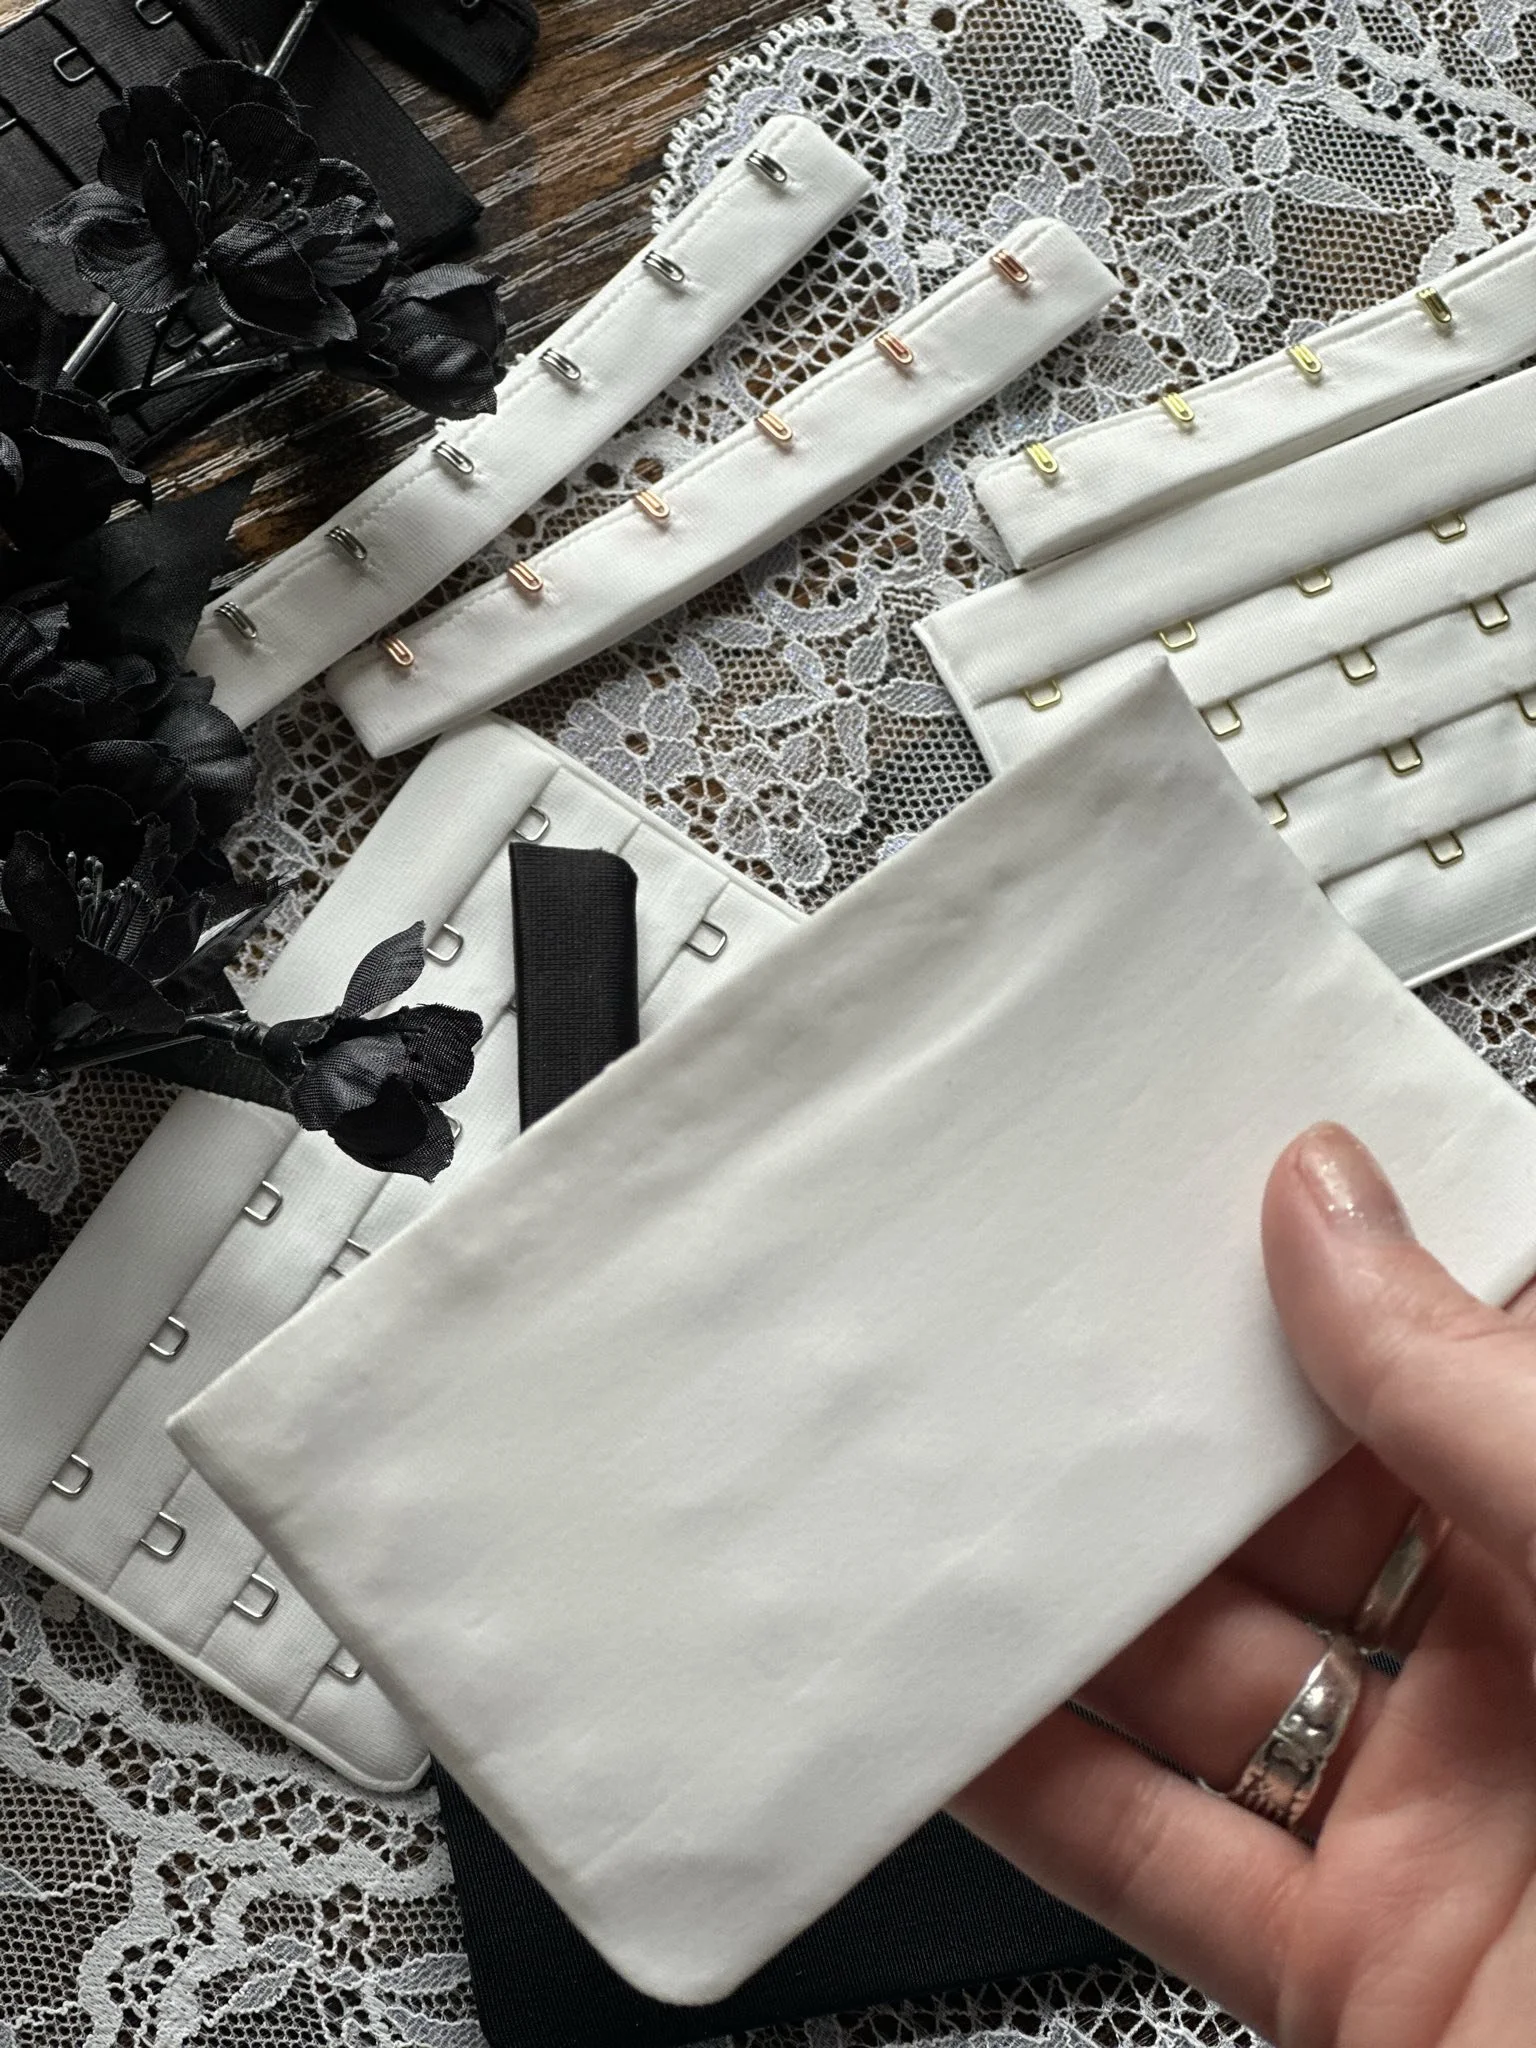
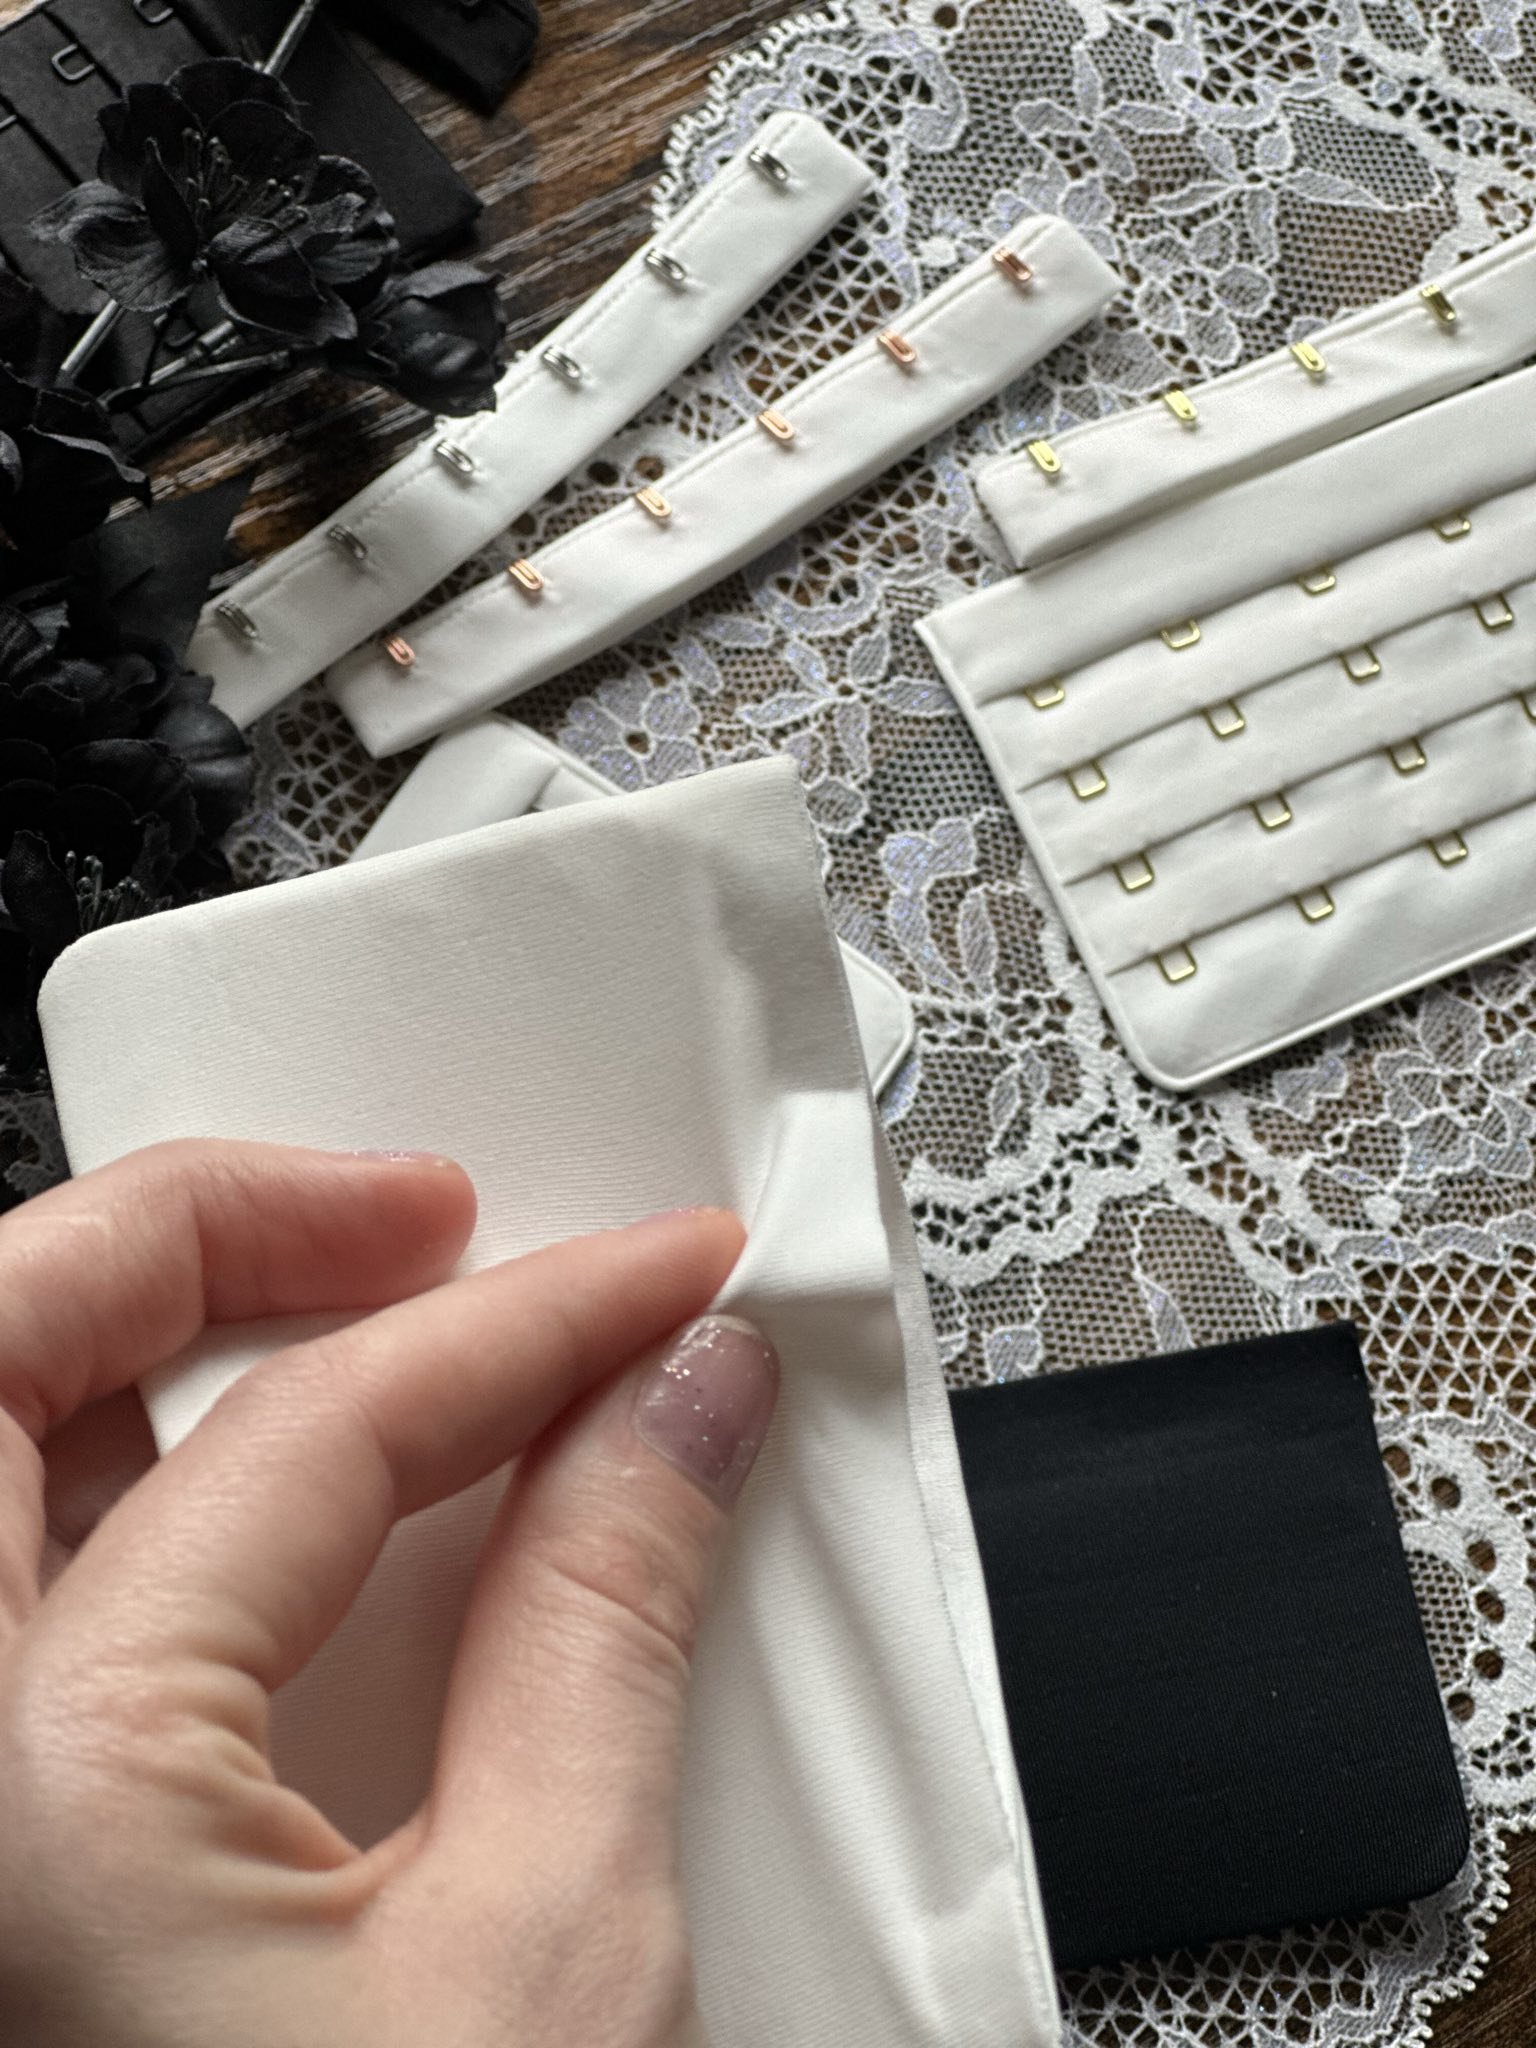
Hook and eyes require special preparation. You’ll need to carefully separate the adhesive backing and soak them in soapy water to help release some of the residue so the dye can penetrate evenly.


When it comes to color, working with primary colors by themselves—pink, blue, and yellow—produces the best results. These colors are absorbed more evenly by nylon and give you a vibrant, consistent finish. Mixing dyes, however, can be tricky. Nylon tends to absorb certain pigments faster than others, which can lead to uneven dyeing, splotches, or unexpected color outcomes. Careful precision and measurements are very important if the goal is to achieve something like muted, and secondary colors.
If you want more resources for mixing colors, DaintyAlchemy has been my go-to resource. She shares color formulas, tips for achieving balance, and techniques for troubleshooting uneven absorption. Her knowledge has been invaluable, especially when working with more complex dye combinations.
My advice? Start with small swatches when experimenting with mixed dyes and primary dyes. This way, you can test how different pigments interact and adjust your process before committing to a full piece of fabric. Nothing is worse than throwing everything in and not having it come out the way you had hoped! I hope this blog was helpful and inspires you test and dye your fabrics and create beautiful colors for your lingerie projects!